Car polishing is an essential part of maintaining your vehicle’s appearance. Whether you’re looking to remove scratches, swirl marks, or simply enhance your car’s shine, polishing by hand is an affordable and effective way to restore that glossy finish. While machine polishing can be more efficient, polishing by hand can still produce impressive results when done correctly.
In this step-by-step guide, we will walk you through the process of hand polishing your car, providing you with everything you need to know for a professional-looking finish.
Why Polish Your Car by Hand?
Before diving into the process, let’s understand the benefits of hand polishing:
- Cost-Effective: Unlike machine polishing, which requires an investment in a polishing machine, hand polishing only requires basic tools and products.
- Control: Hand polishing gives you more control over pressure and movement, allowing you to focus on specific problem areas without over-polishing the paint.
- Less Risk: Machine polishing can sometimes cause damage if not done correctly, especially for beginners. Hand polishing is much safer, especially when dealing with delicate or older paintwork.
Now that you know why hand polishing is a great option, let’s get started.
What You’ll Need for Hand Polishing
Before you begin polishing, make sure you have the right tools and products on hand:
Essential Supplies:
- Car Polish or Polishing Compound: Choose a polish based on your car’s paint condition. Light polishes work well for maintenance, while cutting compounds are better for removing swirl marks or scratches.
- Microfiber Towels: You’ll need soft, lint-free towels to apply and buff the polish.
- Polishing Pad: A foam or microfiber pad will help evenly distribute the polish across your car’s surface.
- Car Wash Supplies: You’ll need car wash soap, a wash mitt, and a drying towel to thoroughly clean your vehicle before polishing.
- Clay Bar Kit (optional but recommended): A clay bar removes embedded contaminants from the paint surface, ensuring a smoother finish for polishing.
- Painter’s Tape: Use painter’s tape to protect trim, rubber seals, and other non-paint areas from polish buildup.
Step-by-Step Guide to Hand Polishing
Now that you have all the necessary materials, follow this step-by-step guide to achieve a professional-quality hand polish on your car.
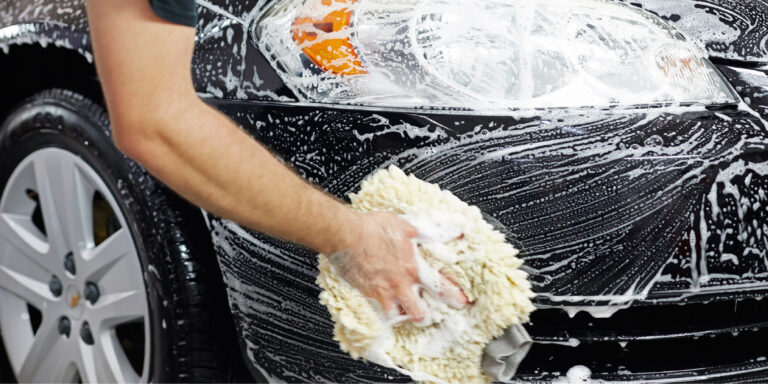
Step 1: Wash Your Car Thoroughly
The first step to any car detailing process is to give your car a thorough wash. You want to ensure that the paint is free of dirt, grime, and other contaminants that could interfere with the polishing process.
- Use pH-Balanced Car Soap: Regular soap can strip your car’s protective layer, so always use a car-specific soap that’s gentle on the paint.
- Rinse First: Use a pressure washer or hose to rinse off any loose dirt before washing.
- Wash in Sections: Wash your car in sections, starting from the roof and working your way down. This will help prevent dirt from being spread back onto the vehicle.
- Dry Your Car Completely: After washing, dry the car using a microfiber drying towel. This helps prevent water spots from forming, which can affect the polish application.
Step 2: Decontaminate the Surface (Optional but Recommended)
Even after a good wash, your car’s paint may still have contaminants like tree sap, tar, or industrial fallout. To get a smooth, polished surface, it’s best to use a clay bar to remove these contaminants.
- Lubricate the Surface: Spray the clay bar lubricant onto a small section of the car.
- Use the Clay Bar: Gently rub the clay bar over the section in straight lines. You’ll feel it pulling away contaminants as you move the clay.
- Wipe Off the Residue: After claying the section, wipe it down with a clean microfiber towel.
- Repeat this process over the entire vehicle, especially on areas with rough patches.
Using a clay bar ensures that the paint is as smooth as possible, allowing the polish to work more effectively.
Step 3: Tape Off Non-Paint Areas
To prevent polish from getting on areas like trim, plastic, or rubber seals, it’s a good idea to use painter’s tape to cover these sections. Tape off your car’s door edges, window seals, and bumpers, so you only apply polish to the painted areas.
Step 4: Apply the Polish
With the car washed, decontaminated, and taped off, it’s time to apply the polish. Here’s how:
- Shake the Polish: Always shake the bottle of polish before use to ensure it’s well-mixed.
- Apply to the Pad: Place a few drops of polish onto your polishing pad. Start with a small amount and add more as needed.
- Work in Small Sections: Start with a small section (about 2×2 feet) and apply the polish in a back-and-forth motion. Keep the pad flat and apply light pressure as you work in overlapping lines.
- Use Circular Motion: After you’ve covered the section with the polish, switch to circular motions. This helps work the polish into the paint and removes any swirl marks.
- Don’t Overload the Pad: If the pad becomes saturated, it can leave streaks or uneven application, so always keep a light, consistent layer of polish.
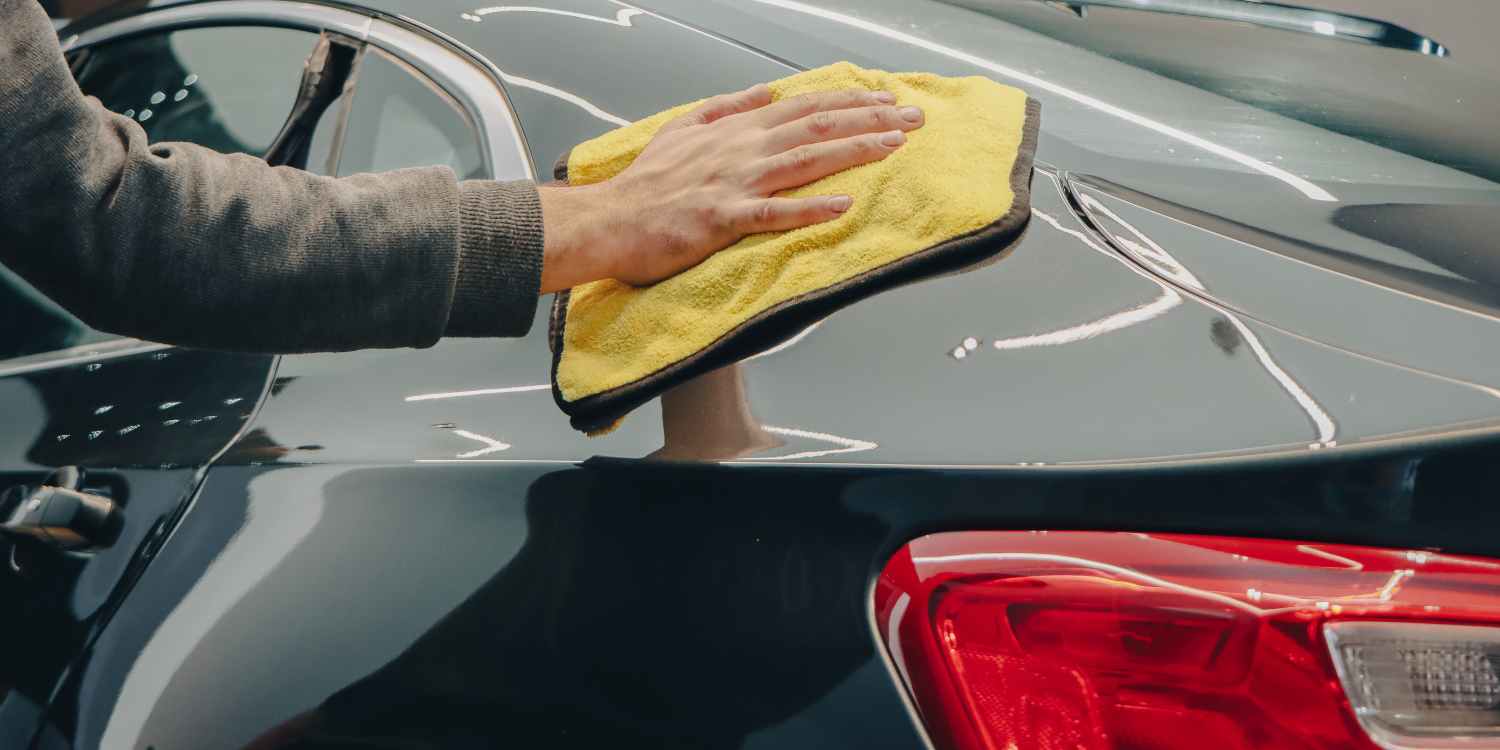
Step 5: Buff the Surface
After applying the polish to a section, allow it to sit for about 30 seconds to a minute (or follow the manufacturer’s instructions). It should start to haze over slightly.
- Use a Clean Microfiber Towel: Once the polish has hazed, use a clean microfiber towel to buff off the excess polish. Buff in circular motions, applying gentle pressure to remove all residue.
- Work in Small Sections: Only buff off one section at a time to avoid the polish drying on the surface before you’ve had a chance to remove it.
Continue this process for the rest of the car, working in sections until you’ve polished the entire vehicle.
Step 6: Inspect Your Work
After you’ve finished polishing, take a close look at the car in good lighting to inspect your work. Look for any areas that might need extra attention or any swirl marks that were missed.
If you spot any imperfections, you can go over those sections again with a bit more polish and repeat the application and buffing process.
Step 7: Final Touches and Protect the Paint
Once you’re happy with the polish, it’s a good idea to apply a layer of paint protection, such as a wax or ceramic coating. These products help lock in the shine and add an extra layer of protection against dirt, water, and environmental contaminants.
- Waxing: Wax gives your car a shiny finish and provides a temporary protective layer. It’s great for maintaining the gloss after polishing.
- Ceramic Coating: For longer-lasting protection, ceramic coating offers a more durable solution, creating a hydrophobic surface that repels water and makes washing your car easier.
Final Thoughts
Polishing your car by hand is a satisfying and effective way to restore its shine and protect the paint. By following these steps and using the right tools and products, you can achieve professional-looking results without spending a lot of money at a detailing shop.
Hand polishing may take a bit of time and effort, but the end result is well worth it — your car will have a beautiful, glossy finish that enhances its appearance and prolongs the life of the paint.
Happy polishing, and enjoy that new-car shine!
At Colibri Car Styling, we offer colour vinyl wrap, commercial vehicle wrap, paint protection film, detailing, polishing, ceramic coating, tinting, wheel and caliper painting, interior ambient lighting, remote starter, GPS tracker and kill switch. You can also find us on Facebook, Instagram and Youtube.