Protecting your vehicle’s paint is a smart move—especially if you want to maintain that showroom shine and preserve your car’s value. One of the most effective ways to do this is with Paint Protection Film (PPF), a transparent, durable urethane layer that shields your car’s surface from rock chips, scratches, UV rays, and road debris. While many opt for professional installation, DIY paint protection film application is totally possible with the right tools, patience, and a bit of guidance.
In this detailed guide, we’ll walk you through how to install paint protection film yourself, step-by-step, so you can confidently take on the job and save some serious cash.
🧰 What You’ll Need
Before you start, make sure you have all the essential tools and supplies:
- Pre-cut PPF kit or bulk film roll
- Slip solution (baby shampoo + distilled water)
- Tack solution (70% isopropyl alcohol + water)
- Spray bottles (one for slip, one for tack)
- Squeegee (with soft edge)
- Microfiber towels
- Heat gun or hair dryer
- Clay bar and lubricant
- Isopropyl alcohol (for cleaning)
- Gloves (optional)
Pro Tip: A pre-cut kit specific to your car’s make and model is easier for beginners to work with than a bulk roll, which requires custom trimming.
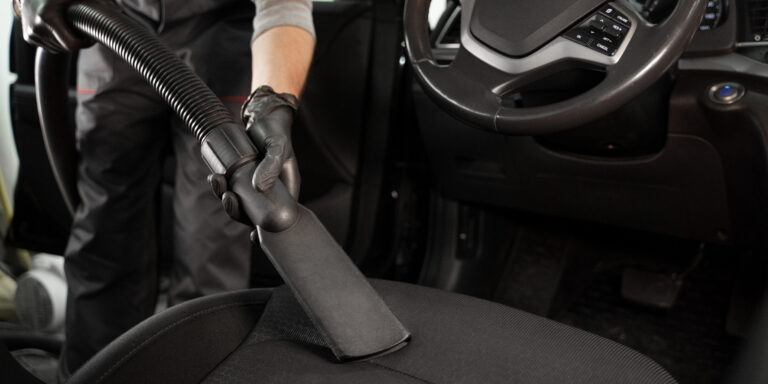
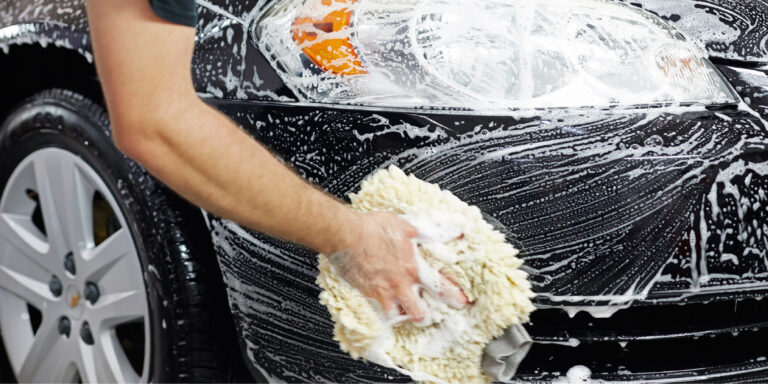
🚗 Step 1: Wash and Prep the Car Surface
Cleanliness is critical. Any dust, dirt, or grease left behind can ruin your PPF installation.
- Wash the car thoroughly, focusing on the area where you’ll apply the film.
- Clay bar the surface to remove embedded contaminants like tree sap or road tar.
- Dry completely using microfiber towels.
- Wipe down with isopropyl alcohol to ensure the surface is 100% clean and free of wax or sealant.
🧪 Step 2: Mix Your Solutions
You’ll be using two solutions during the install:
- Slip Solution: Mix about 3-4 drops of baby shampoo into a 16-oz bottle of distilled water. This lets the film slide around during positioning.
- Tack Solution: A 50/50 mix of 70% isopropyl alcohol and water. This makes the film “stick” once it’s in the right place.
Label your spray bottles clearly to avoid mix-ups.
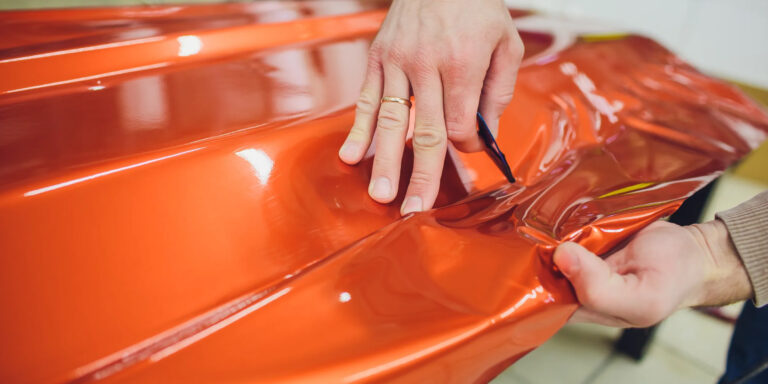
🎯 Step 3: Position the Film
- Spray your hands with slip solution to avoid leaving fingerprints.
- Peel the PPF backing and spray the adhesive side generously with the slip solution.
- Spray the car panel with the slip solution too.
- Place the film on the panel, adhesive side down. You should be able to slide it into position easily.
Tip: Start with a flat and easy area like the hood or door panel if you’re new to this.
💦 Step 4: Squeegee Out the Slip Solution
Once the film is in place:
- Use your fingers or a squeegee to gently press the center of the film, anchoring it in place.
- Start at the center and work outward, pushing out the slip solution with a squeegee at a 45-degree angle.
- Use tack solution around edges or curves to help the film grip and conform to the surface.
Take your time here—work slowly and methodically to avoid bubbles or wrinkles.
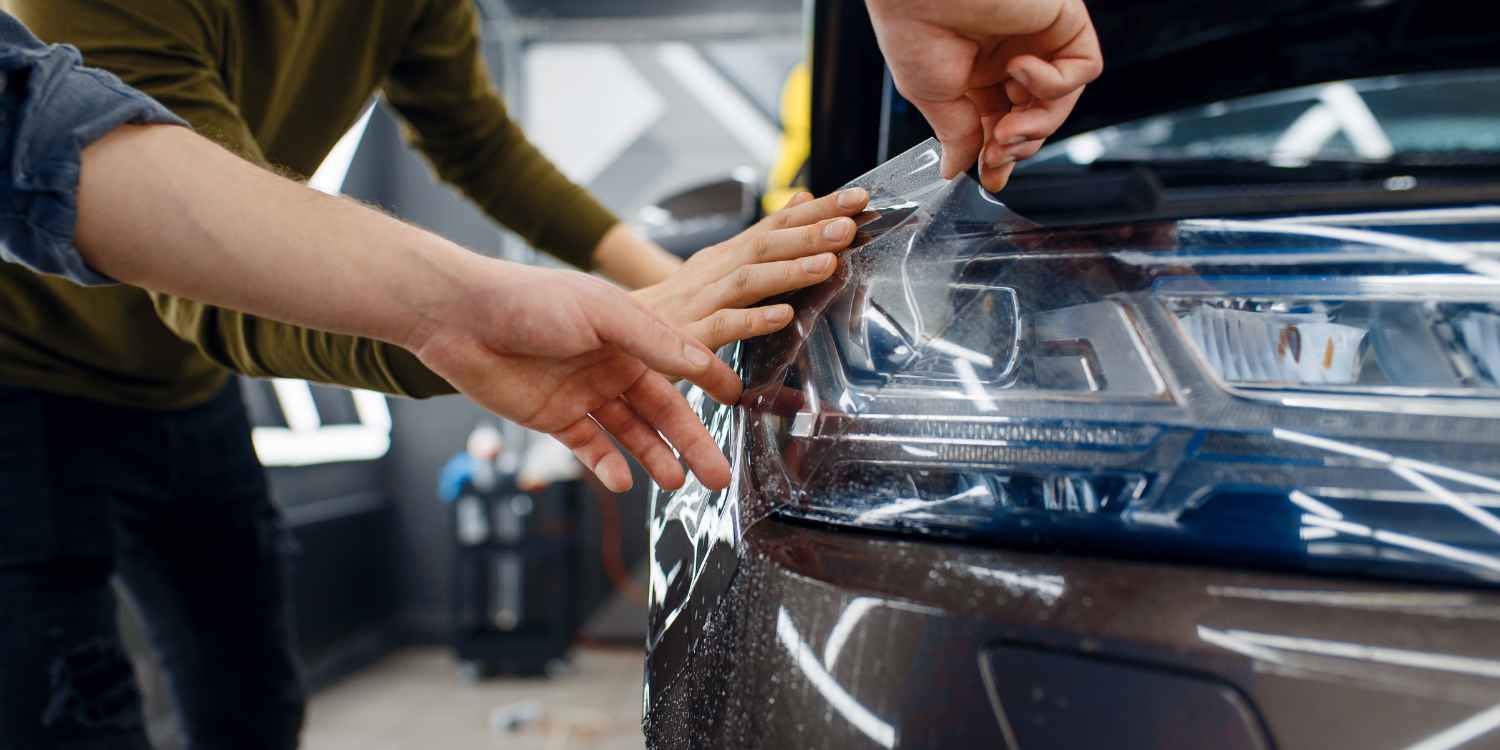
🔥 Step 5: Tackle Curves and Edges
Curved areas like bumpers or headlights can be challenging, but a heat gun helps.
- Warm the film gently using a heat gun or hair dryer. This makes it more pliable and helps it conform to complex shapes.
- Stretch and press the film into place while applying tack solution to hold it.
- Tuck the edges of the film around panel seams for a clean look.
Avoid overheating the film—it should be warm and stretchy, not hot and melting.
👁️ Step 6: Check for Bubbles and Lift Points
After applying the film:
- Look for air bubbles or trapped water under the film.
- Use your squeegee to push them to the edges.
- If there’s still fluid or bubbles after a few hours, gently lift that section, reapply slip solution, and lay it down again.
Small bubbles may disappear on their own over a day or two.
🕒 Step 7: Let It Cure
Give your newly applied PPF time to cure properly.
- Avoid washing your car for at least 48 hours.
- Keep the vehicle in a dry, dust-free area while the adhesive fully sets.
- After 1–2 weeks, check for any edges that may have lifted and press them down with a warm towel and a bit of tack solution.
🧽 Maintenance Tips After Installation
Now that your car is protected, here are a few tips to keep the PPF looking its best:
- Wash with a pH-neutral soap and a soft mitt.
- Avoid pressure washers near the edges of the film.
- You can apply wax or sealant on top of PPF—but avoid petroleum-based products.
- Avoid automatic car washes with brushes, as they can damage the film.
- If you see staining or yellowing, it may be time for professional maintenance or replacement.
✅ Final Thoughts: Is DIY PPF Worth It?
Installing paint protection film yourself isn’t the easiest DIY project—but it’s totally doable with patience and the right prep. While you may not get a professional-level install your first time, it can still be highly effective and significantly cheaper.
Expect a learning curve, especially when working with curved surfaces and edges. Starting with a partial kit (like just the hood or mirrors) is a smart way to gain experience before moving on to full-car installations.
Whether you’re protecting your new car from highway chips or giving your daily driver a refreshed look, paint protection film is one of the best investments you can make.
At Colibri Car Styling, we offer colour vinyl wrap, commercial vehicle wrap, paint protection film, detailing, polishing, ceramic coating, tinting, wheel and caliper painting, interior ambient lighting, remote starter, GPS tracker and kill switch. You can also find us on Facebook, Instagram and Youtube.