Ceramic coating is one of the most effective ways to protect your car’s paint, providing a durable, hydrophobic layer that repels water, dirt, and contaminants. While professional ceramic coating services are available, many car enthusiasts and DIYers prefer to apply it themselves for a more cost-effective solution. If you’re looking to apply ceramic coating to your car and want to ensure the best results, this step-by-step guide will walk you through the entire process.
What is Ceramic Coating?
Ceramic coating is a liquid polymer applied to the exterior of your car’s paint. The coating chemically bonds with the paint to form a protective layer. This layer not only makes your car’s paint more resistant to water, dirt, and chemicals but also enhances its gloss, shine, and overall appearance.
One of the primary benefits of ceramic coating is its ability to make cleaning easier. The hydrophobic surface repels water, causing it to bead up and roll off, which means less water spots, easier dirt removal, and reduced risk of swirl marks.
What You’ll Need
Before getting started, it’s essential to gather the necessary tools and materials. Here’s a list of everything you’ll need for the ceramic coating application:
Tools and Materials:
- Ceramic Coating Kit (includes the coating solution, applicator, and towel)
- Car Wash Soap (preferably pH balanced)
- Microfiber Towels (high-quality, lint-free)
- Clay Bar Kit (to remove contaminants)
- Iron Remover (to eliminate iron deposits and brake dust)
- Polish or Compound (optional, for surface correction)
- Bucket (for washing)
- Car Drying Towels (preferably microfiber)
- Painter’s Tape (to protect rubber seals and plastic trim)
- Gloves (to avoid touching the coating solution)
- Flashlight or Good Lighting (to inspect your work)
Now that you have everything ready, let’s dive into the step-by-step process of applying ceramic coating to your car.
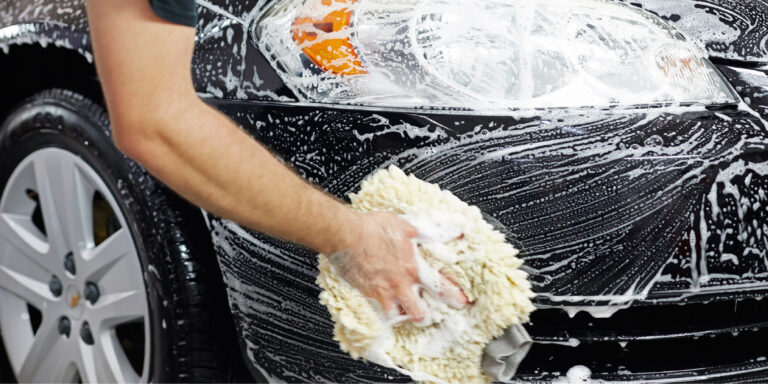
Step 1: Wash Your Car Thoroughly
The first step in applying ceramic coating is to wash your car thoroughly. The cleaner the surface, the better the ceramic coating will adhere to the paint. Use a pH-balanced car wash soap and a microfiber mitt to avoid scratching the paint.
- Tip: Avoid using dish soap or household cleaners, as these can strip away wax and other protective layers.
After washing, rinse your car completely to remove any soap residue and dry it with a microfiber towel. Be sure to dry it completely to prevent water spots from forming, which could affect the coating process.
Step 2: Decontaminate the Surface
Even if your car looks clean, there may be contaminants on the paint that can interfere with the bonding of the ceramic coating. To remove these contaminants, use a clay bar kit. The clay bar will help pull out embedded dirt, tree sap, and other particles that regular washing may have missed.
- Lubricate the surface of the car with the clay bar lubricant provided in the kit.
- Gently rub the clay bar over the surface of the car in straight lines. You’ll feel it smooth out as it picks up contaminants.
- Wipe the area with a microfiber towel to remove any residue.
Additionally, if your car has any iron deposits or brake dust, use an iron remover to break these particles down, ensuring the surface is completely clean.
Step 3: Polish or Compound the Paint (Optional)
At this stage, it’s a good idea to inspect the paint for imperfections such as swirl marks, scratches, or oxidation. Ceramic coating doesn’t hide imperfections, so it’s essential to fix any surface flaws before applying the coating.
If your car’s paint has light imperfections, use a polish to refine the surface. If there are deeper scratches, you may need to use a compound to correct them.
- Tip: Use a dual-action polisher for a more professional finish, but if you don’t have access to one, a hand polish will work as well.
After polishing, wipe the surface down with a microfiber towel to remove any dust or residues left from the polish.
Step 4: Tape Off Trim and Rubber Seals
To avoid getting ceramic coating on areas that you don’t want to protect, such as rubber seals, plastic trim, and windows, use painter’s tape to cover these parts. This step ensures a cleaner, more precise application and avoids damaging these materials with the coating.
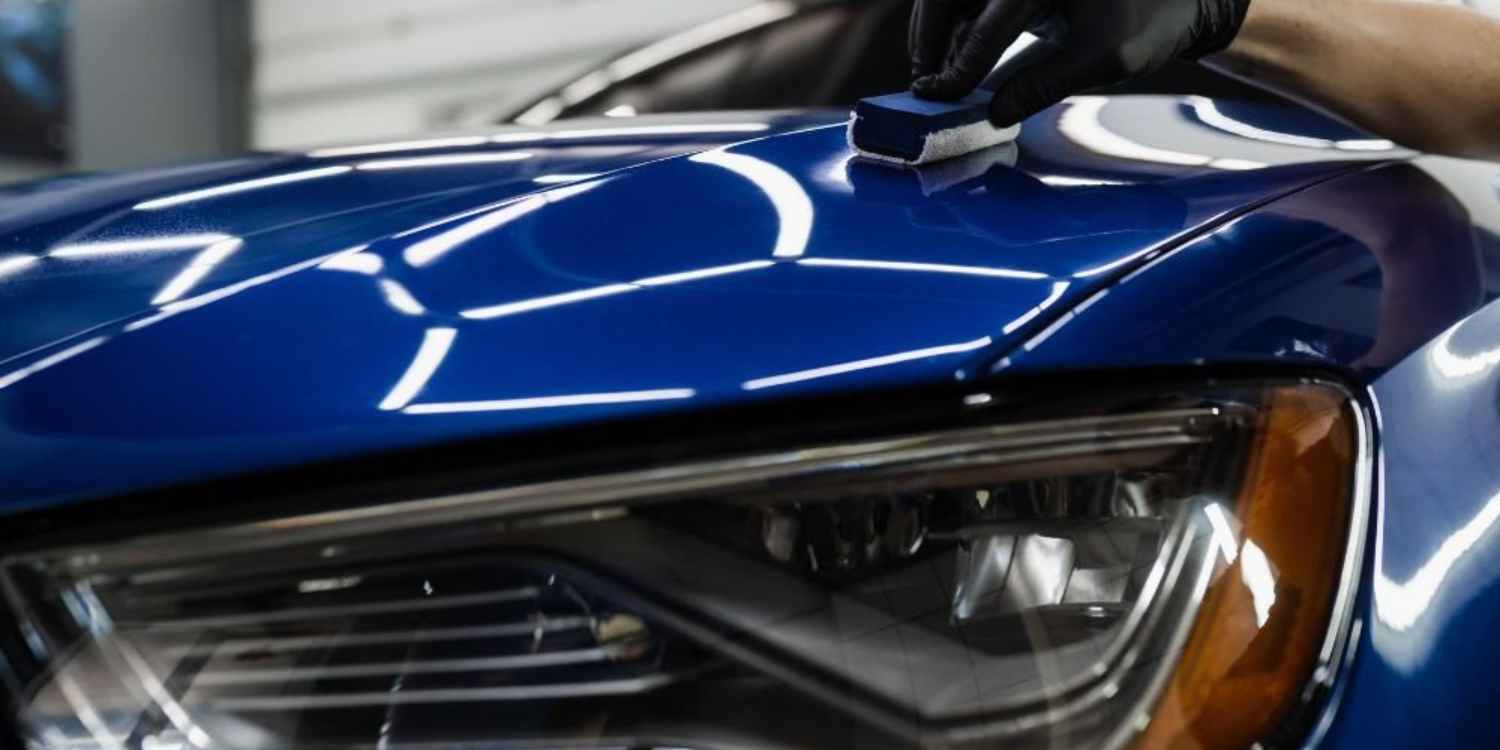
Step 5: Apply the Ceramic Coating
Now that your car is prepped and ready, it’s time to apply the ceramic coating. Follow the instructions provided with your specific ceramic coating kit, as application methods can vary slightly from brand to brand.
- Prepare the Applicator: Most ceramic coating kits come with an applicator pad. Apply a few drops of the ceramic coating solution onto the applicator pad — enough to cover a 2×2 ft area at a time.
- Apply the Coating: Begin applying the coating to your car’s paint in small, overlapping sections. Work in straight lines, covering one section at a time, ensuring even coverage.
- Buff the Coating: After applying the coating to a section, allow it to sit for about 30 seconds to 1 minute (depending on the product instructions). Then, take a clean microfiber towel and buff off the excess product using circular motions. Be sure to wipe the surface until it’s completely dry and streak-free.
- Repeat: Continue this process on all panels, working in small sections. Be sure not to let the coating sit too long before buffing it off, as it can harden and become difficult to remove.
- Tip: Always work in the shade or a well-ventilated area to avoid the coating curing too quickly from the heat of direct sunlight.
Step 6: Let the Coating Cure
After applying the ceramic coating to the entire car, it’s crucial to let it cure. Most ceramic coatings require 24–48 hours to fully bond with the paint and achieve their maximum effectiveness. During this time, avoid exposing the car to water, rain, or direct sunlight.
Some products may recommend a cure time that varies depending on the temperature and humidity, so always refer to the product’s instructions.
Step 7: Perform a Final Inspection
After the curing period, inspect the car’s surface under proper lighting. You should see a glossy, smooth finish with a hydrophobic surface. You can test the coating by sprinkling water on the car; it should bead up and roll off easily, demonstrating the effectiveness of the ceramic coating.
If you notice any missed spots or areas where the coating hasn’t bonded properly, you can apply another layer of coating. This is optional but can provide additional protection.
Step 8: Maintain the Coating
Now that your ceramic coating is applied, it’s important to maintain it for long-lasting results. Regular washing using pH-balanced soap and gentle drying will help preserve the coating. Over time, the coating will naturally wear down, but with proper maintenance, it can last for 1 to 3 years.
Conclusion
Applying ceramic coating to your car is a rewarding DIY project that can significantly improve the appearance and protection of your vehicle. By following these steps — from washing and decontaminating the surface to applying the coating and allowing it to cure — you’ll be able to enjoy the benefits of a smooth, hydrophobic finish that protects your car’s paint from environmental contaminants, dirt, and UV rays.
While it may take some time and effort to apply, the results are worth it, offering long-term protection and an eye-catching shine that will make your car stand out.
Happy coating!
At Colibri Car Styling, we offer colour vinyl wrap, commercial vehicle wrap, paint protection film, detailing, polishing, ceramic coating, tinting, wheel and caliper painting, interior ambient lighting, remote starter, GPS tracker and kill switch. You can also find us on Facebook, Instagram and Youtube.