Car theft is unfortunately still a common crime, and even modern vehicles with high-tech alarms aren’t immune. If you’re looking for a simple and effective way to deter thieves, a car kill switch might be the solution you’re looking for. In this guide, we’ll break down everything you need to know about installing a kill switch in your car — even if you’re a complete beginner.
🚘 What Is a Car Kill Switch?
A car kill switch is a small but powerful anti-theft device that disrupts the flow of electricity or fuel to your engine, preventing the vehicle from starting. Think of it as a secret “off” switch hidden in plain sight. Only someone who knows where it is (a.k.a. you) can start the car.
There are a few different types of kill switches, such as:
- Fuel pump kill switch
- Ignition wire kill switch
- Battery disconnect switch
- Remote-controlled kill switch
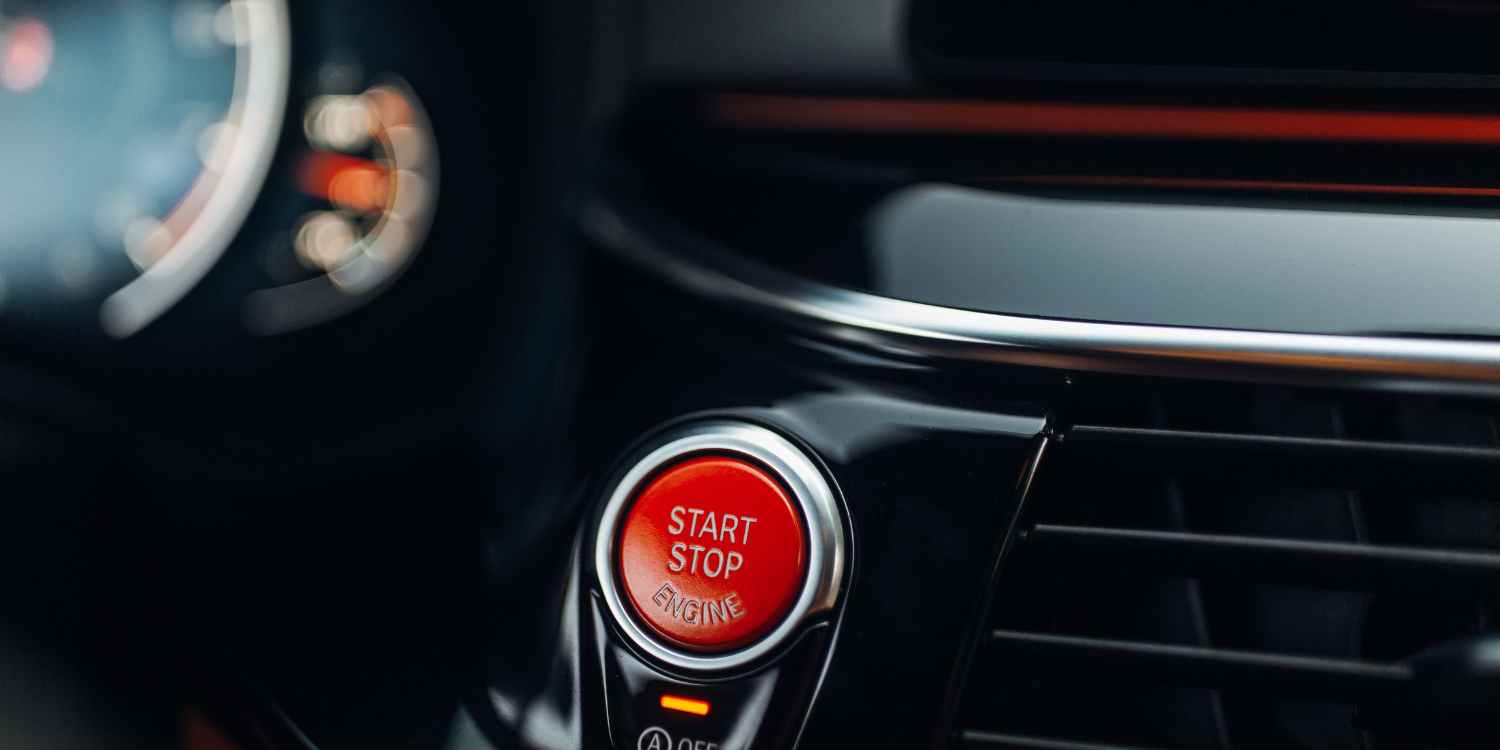
- Key or push-button switch
In this article, we’ll walk you through a simple ignition wire kill switch installation — one of the most popular and cost-effective options.
🧰 What You’ll Need
Before diving in, gather the following tools and materials:
- A toggle switch or push-button switch
- 14- or 16-gauge wire
- Wire stripper/crimper
- Electrical tape or heat shrink tubing
- Wire connectors (butt connectors or spade connectors)
- A drill (optional, for mounting the switch)
- Multimeter (to identify ignition wires)
- Screwdrivers
You can find most of these items at an auto parts store or online. The entire setup usually costs under $20.
⚡ Safety First!
Important: Always disconnect your car battery before working with any electrical components. This will prevent shocks and protect your vehicle’s electronics.
🛠️ Step-by-Step Installation Guide
Step 1: Choose the Type of Kill Switch
For this guide, we’re installing an ignition wire kill switch. This type interrupts the circuit that connects your ignition switch to the starter relay — preventing your car from starting unless the switch is turned on.
Step 2: Locate the Ignition Wire
Pop open your car’s dashboard or steering column cover using a screwdriver. You’re looking for the ignition wire — usually red or yellow — that goes from the key ignition to the starter.
If you’re unsure, use a multimeter to test voltage. When the key is turned to the “start” position, the ignition wire will read 12V.
Step 3: Cut the Ignition Wire
Once you’ve confirmed the wire, cut it cleanly using your wire cutters. This may feel scary, but don’t worry — you’re just going to reroute this wire through the kill switch.
Strip about 1/2 inch of insulation off both cut ends of the wire.
Step 4: Wire the Kill Switch
Now connect the two ends of the cut ignition wire to the two terminals on your toggle or push-button switch.
- If your switch uses spade connectors, crimp one to each wire end.
- If using a toggle switch, it usually doesn’t matter which side is which — it’s just a simple open/close circuit.
Secure the connections using electrical tape or heat shrink tubing to prevent shorts.
Step 5: Mount the Switch
Mount the kill switch in a hidden but accessible location, such as:
- Under the dashboard
- Inside the glove compartment
- Beneath the driver’s seat
- In an unused dash button spot
If needed, use a drill to make a small hole to secure the switch with screws or adhesive.
Pro tip: Don’t make it too hard to reach — you’ll be using this every time you start the car.
Step 6: Reconnect the Battery and Test It
Reconnect your car battery and try to start the engine.
- With the switch OFF: The engine should crank but not start.
- With the switch ON: Your car should start normally.
If it works as expected, congratulations — your kill switch is now active!
🔒 Extra Tips for Success
- Label your wires while working to avoid confusion.
- Use wire loom or tubing to keep your wiring clean and hidden.
- Hide the switch creatively — for example, inside a cigarette lighter, behind a removable panel, or under the carpet.
- Use a relay for a more professional installation (optional for beginners, but it adds durability).
🤔 Is a Kill Switch Really Worth It?
Absolutely. Car kill switches are:
- Inexpensive: Costs less than a fancy steering lock
- Effective: Thieves often abandon a car that won’t start
- Simple: No fancy tech required
- Customizable: You choose how and where to install it
While not foolproof, a kill switch adds a powerful layer of protection — especially when combined with alarms or GPS trackers.
⚠️ Legal Note
Kill switches are legal for personal vehicles in most regions, as long as they don’t interfere with safety features or tamper with emissions systems. However, some states or countries have regulations around remote kill switches or commercial vehicle requirements, so always double-check local laws.
🧠 Final Thoughts
Installing a kill switch is one of the best low-cost, high-reward ways to protect your vehicle. It takes less than an hour and just a few tools to give yourself peace of mind — and potentially save thousands of dollars in the event of a theft attempt.
Even if you’re not super experienced with car electronics, this is a project well within reach for most DIYers. Just remember: keep the switch hidden, the wiring clean, and your secret safe!
At Colibri Car Styling, we offer colour vinyl wrap, commercial vehicle wrap, paint protection film, detailing, polishing, ceramic coating, tinting, wheel and caliper painting, interior ambient lighting, remote starter, GPS tracker and kill switch. You can also find us on Facebook, Instagram and Youtube.


